 Ga verder naar inhoud
You are thinking about buying a poledancepole for your home or studio. Where to start? Most people start by thinking about the costs. And yes, buying your own pole for at home training is a rather big expense. But if you choose your polefitnesspole wisely, you only have to buy it once in a lifetime. Just follow these 5 easy steps presented to you by Flexmonkey_polewear. An amazing polewear brand, pole equipment store and a studio, with tons of experiences with all different kinds of brands.
There are 5 things to think about before setting up a pole dance pole at home. And those have nothing to do with the budget, and everything with location, goals and personal preference. And everything with how you are going to use the pole, where you are going to use it and how you are going to place it. Only then you have a clear view and can finally choose what type of pole you need!
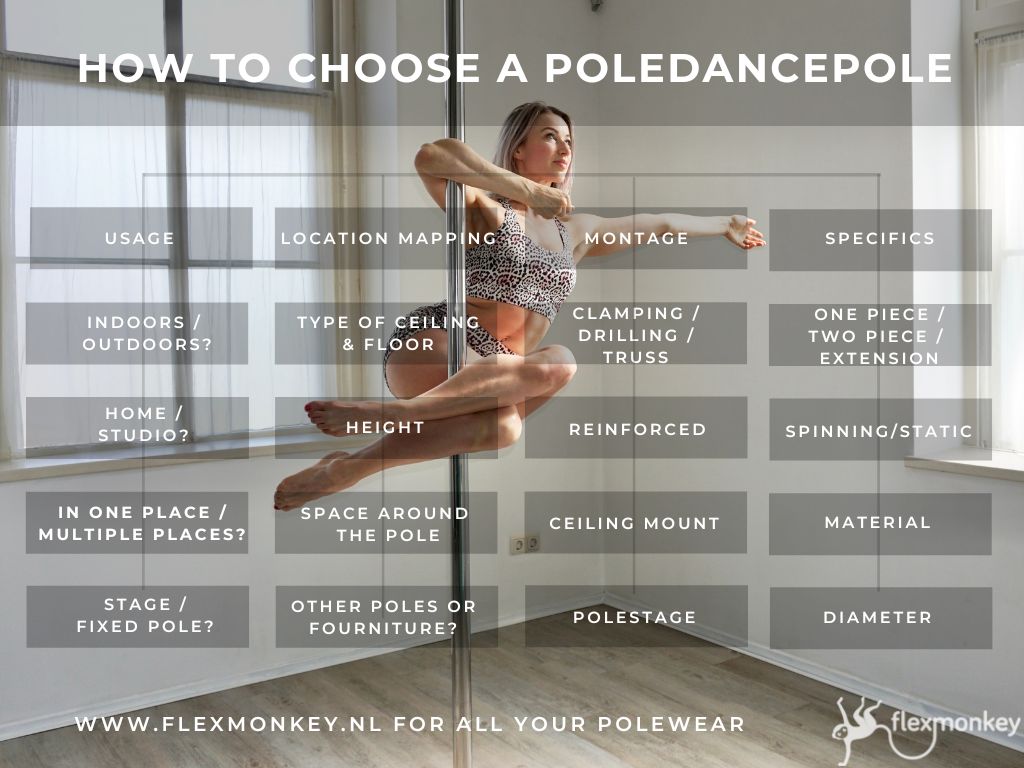
The 5 steps:
1) Usage. Matching the pole to your goals and type of use.
2. Mapping. Map the exact location of the pole.
3) Assembly. Choosing the best way to assembly the pole.
4) Specifics. Choosing specifics of the pole itself.
5) The brand or vendor. Choosing the brand and/or vendor.

Step 1. Usage. First things first. You have to figure out what kind of purpose the pole dance pole will have. Will it be for home training or to teach? Indoors or outdoors? Do you want to be able to take the pole with you to different locations? Or will it be fixed in one place only? When you create a clear view of how you want to use the pole, you can decide whether you like a pole stage, a removable pole or a fixed pole. Then you can think about where to put it.
Step 2. Mapping the exact location of the pole helps you to make a decision about assembly (step 3). You should ask yourself if the location is suitable for placing a pole. Regardless of whether if you are looking for a pole at home or a new studio, you should carefully think about the type of ceiling and floor, the height, and the available space around the pole. Sometimes you don't have many options and are bound by constructional limitations. What you should first figure out, is if the ceiling can hold a pole dancing pole. Concrete ceilings have the most options to fix a pole because you can drill the upperdome of the dome into the ceiling or use a system without drilling to fix the pole. Joists can be used to fix a pole aswell. It might come as a surprise to you, but not all types of ceilings are made for pole dancing ;) For example, a plasterboard ceiling can't be easily used to fix a pole (more about this further along this blog). If the ceiling is not suitable to fix a pole, you can always buy a pole stage, so you don't have to fix the pole into a floor or ceiling! Most of the time pole stages, as well as pole, can be custom ordered (even if your ceiling is lower then the regular polestage kit!).
Poles are fixed in two places: ceiling and floor. Once you have examined the ceiling, it is time to take a close look at the floor. The floor should be hard. It should hold its form when a pole is placed because the force in between ceiling and floor, holds the pole in place. More about this in the step 3 'assembly'.
What you should also think about, is if the location is heigh enough to perform inverts. And to do other tricks you like to practice. Most of the time a less high pole isn't much of problem for pole dancers at home. However for a studio more height is desirable in order to practice more advanced combinations and techniques. You should also consider having enough space to spin around the pole. It is ok to have one corner which can't be used for a full spin, as long as you are aware and have the skills to avoid this corner when spinning with an extended limb. The minimum turning circle should be 1.5m. If you want to place the pole in a studio, you might want more space so you can also use it for ironX and other fully extended techniques. You should also think about placement of other poles you might want to install.

Step 3. Assembly. Roughly said there are 3 pole-constructions. A truss, drilled, or clamped. Let's start with the third option: clamped. The biggest advantage of a clamped pole it that this system gives you a range of heights. That way you can move it to a different location with a different height without any problem. Most of the time you can even extend the range by adding a pole extension. An extension is far cheaper than buying a new pole. Another plus is that clamping doesn't leave any marks or damage to the construction of the ceiling or floor. It might leave a color difference after years, which can be fixed with a little paint. Also, the clamped pole systems are very easy to set up and deconstruct, even for single usage. These type of poles can also be set up for longer periods of use, but you have to make sure they are regularly checked.
Depending on the type of use, a removable pole might be the best fit. For example because you only want to put the pole in your living room when you train, but not as an interior design statement. Or if you teach pole but also need the space to teach modern dance. This type of montage can only be used when you have a concrete ceiling, or joists to clamp it to. If you have plasterboard you need some reinforcement before it will be suitable. Best thing is to ask your vendor or the pole producer how to do so. For example, if you are able to locate the joists behind the plasterboard you can fix a thick wooden plate in between two joists, in order for the plasterboard to be able to hold the force of clamping the pole between ceiling and floor. Disadvantage of the clamping system is, if the pole isn't clamped tightly enough, it can slip and possibly fall down. Therefore, the option drilling will provide more safety.
Sometimes the height of the exact location also determines if you can clamp, or need to fix the pole via drilling. If the height exceeds 3.5m for safety reasons, you need to fix the upperdisk by drilling it into the ceiling. Also, for increased safety, you can use a locator pin and drill it into the floor and lower disk. From a height starting at 4.2m it is advised to only use permanent poles, with a maximum height of 4.7m. Permanent pole are fixed by drilling the upperpart aswell as the lower disk.
Most studio owners find it very scary to order custom made permanent poles. It is a big expense and who knows where you end up using the poles exactly? Or if you might have to move to a different location? Lupit has come up with the perfect solution for this: an extension made for custom one piece poles! This way your custom made pole has a range of 10cm height, which gives you a little breathing space.
What if you have a ceiling that is not parallel to the floor? For any inclination of the ceiling, using a ceiling mount will provide the solution. Please note a ceiling mount should be fixed by drilling.
Maybe you are in luck and the construction of your home, studio or any other trainingplace is suitable for both clamping and drilling. In that case, the usage will mostly decide which type of assembly you choose.
The last option to discuss is a truss system. If the construction isn't suitable for clamping or drilling, you can build an indoor construction to hold the pole in place. This is called a truss. Mostly this type of construction is only seen when a pole show or big competition is being held, in a theatre or a gym, or any other place were the ceilings are far too heigh for any pole to reach. It is expensive and takes some special skills to construct. It is however suitable to be constructed for one weekend without leaving marks.
So, when you know about how you are going to use the pole, where you are going to use the pole and how you are going to place it, it is time to choose your very own pole dance pole!
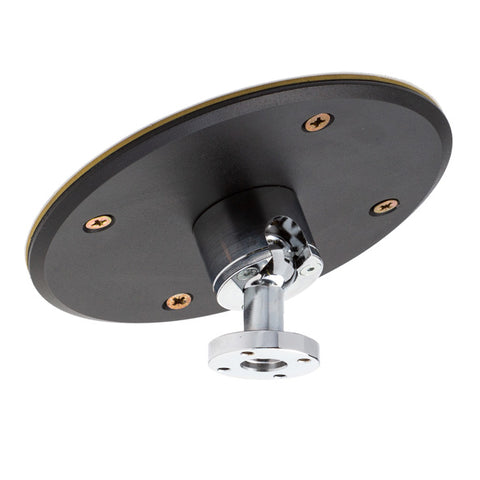
Lupit ceiling mount.
Step 4. Specifics. Specifics can be broken down the number of pieces (or extensions), spinning or static (or both: and the system to do so), the material and finish, and the diameter of the pole.
Maybe steps 1 to 3 already made some decisions for you. If the height exceeds 4.2m you should go for a permanent pole in one piece. But if you need a pole higher than the regular polekit, you can still choose between a two piece or a one piece pole. A one piece pole doesn't have any interruptions, making it more steady and smooth. A one pole piece is however made to a custom hight. A two pole piece has one or more minor creases, depending on the number of extensions used. A big plus however, if you need a different height, you only need to buy one new piece, instead of a whole new pole.
After deciding about the one or multiple piece variation, you can wonder about the mechanism inside the pole. If you train at home and know for sure you will never practice spinning pole, you are safe to choose a static pole. However, would you like to practice both static and spinning? Or at least have it as a possibility for the future? Then choose a pole which can be changed from one position into the other. These kinds of poles are slightly more expensive. There are several systems for a pole to change from static to static. The "old" way is by the use of a hexkey and loosening a screw. Luckily for us technology evolves very fast and nowadays there are also systems that allow you to change settings by one click. For example, Lupit pole has developed the very easy and safe technology called the Quicklock. The Quicklock is a unique fast locking system to switch from spin to static in a second. Just by the twist of a wrist ;)
So, when you know about how you are going to use the pole, where you are going to use the pole, how you will setup the pole AND what the type of pole you want, it is time to think about the finish of the pole.
Say what? Well a pole dance pole is like jewellery and comes in different kinds of materials and finish. The three main materials are stainless steel, chrome and brass. Grip is the key word here. Every person's skin reacts on a different way to the climate and the material of the pole. Most people will choose the material they are use to train on in their studio. As for finish it is highly recommended to choose a polished pole with a smooth finish. After more than 10 years of experience and the use of different brands, it is our conclusion most people have better grip on the Lupit poleset with a chrome finish. As far as we know, this brand is the only one who came up with a special kind of chrome finish which is safer to use. Their innovations led up to a 100% Nickel Allergy Free new tube material with a sustainable surface, 100% peeling and chipping free surface and incredible grip. However, brass and stainless steel are also popular choices. If you are a beginner, or have slippery hands no matter what, you can even choose for a different type of finish altogether: a powder coat. A powder coat finish offers improved grip and comes in lovely colors. However, be careful, you shouldn't perform drops on this grippy material!
You also want to consider the climate, and Lupit pole states if this is humid, your best option is stainless steel or a powder coated finishing. If it is dry, choose chrome, powder coated or brass finishing.

Powder coat by Lupit, color: desert rose.
Last but not least, you can choose the diameter of the pole. For example 42 or 45mm. If you have small hands it is best to choose a diameter of 42mm. We often hear polers discuss benefits of a smaller pole and this is the grip of the hands. However, most polers find a bigger pole easier for the techniques where you use the legs to grip.
Step 5. The brand and/or vendor.
5) The brand or vendor. Choosing the brand and/or vendor can be tricky. What you should bear in mind, is what type of service is offered. How long are delivery times and how long does it take for you to get a reply on your questions? Most of the time an order is fulfilled and the customer starts using the pole without any problems. But what if there is a problem? How quickly will it be solved? Based upon our 6 years of experience at this point we have found that Lupit offers the best customer support. Of course, if you are looking for a reliable poledance shop with very fast and supportive customer service, you need to look no further: Flexmonkey_polewear has helped out over five thousand happy polemonkeys over the past few years.
If you are based in the Netherlands you are welcome to visit our studio in 's Gravenmoer Noord Brabant. You can test some of the different materials and pole sets Lupit has to offer. Such as the powder coat and chrome finish, and the one piece pole extension. Also, you will the newest technology here as a sample to see what beautiful new improvements have been made in the world of pole dance poles. Just email info@flexmonkey.nl or whatsapp 0617149847 to set up a meeting.
Or if you just like to scroll through our pole dance pole shop, visit our online shop via https://flexmonkey.nl/collections/thuis-trainen.

Pictures & clothing: @flexmonkey_polewear, Kyra Maria. Models @Cai_polefit @Lianpdskills @JosephineLevana @DemiBrama.